Build a Ray Casted World in JavaScript
Ray Casting: have you heard of it before? It's a really quick and easy way to make 3D-looking corridors in a tiny amount of code. Naturally, this means ray casting can be fairly limiting when it comes to flexibility.
That's why nowadays a lot of people have turned to methods like ray tracing, ray marching, ray combustion, ray existentially questioning their life choices, and ray realising they should've just used a game engine.
On the other hand, ray casting is a great way to learn about the basics of 3D graphics. It's a simple concept that can be implemented with just a few lines of code. In this tutorial, I'll show you how to make a ray casted world in JavaScript.
Wait... It's Actually 1D?
Ray casting is deceptively simple. In fact, it's not really 3D. Technically, it's not even 2D.
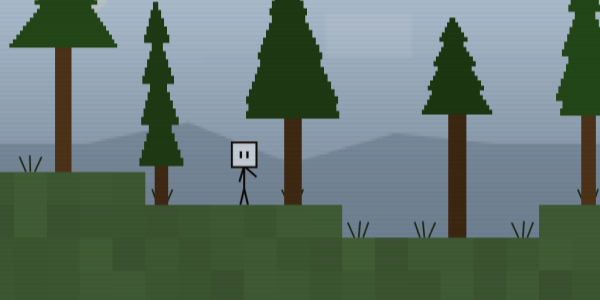
Let me explain. Imagine a 2D circle in a world full of squares. This circle has a very limited perspective - it can't look up or down, only straight ahead.
From its point of view, the world isn't a full 2D space. It only perceives a series of distances to the nearest walls directly in front of it - essentially, a single line of information. That's what makes ray casting fundamentally 1D: it's just measuring distances and drawing vertical slices based on them.


Step 1 - Making the rays
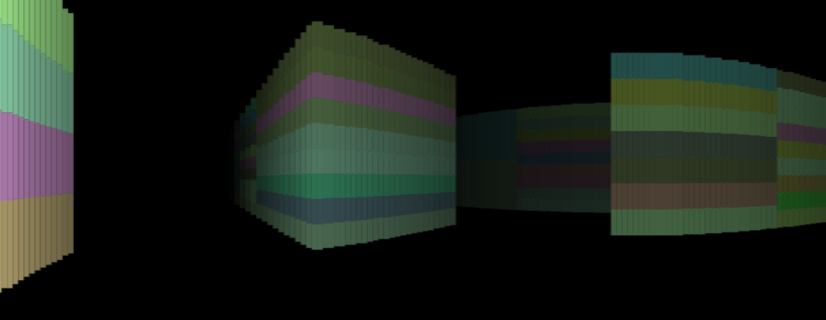
Create a bunch of rays (or you could just call them lines), but make sure each ray stops when it hits an obstacle, and that it has a maximum length.
Step 2 - Interpreting Ray Location and Length
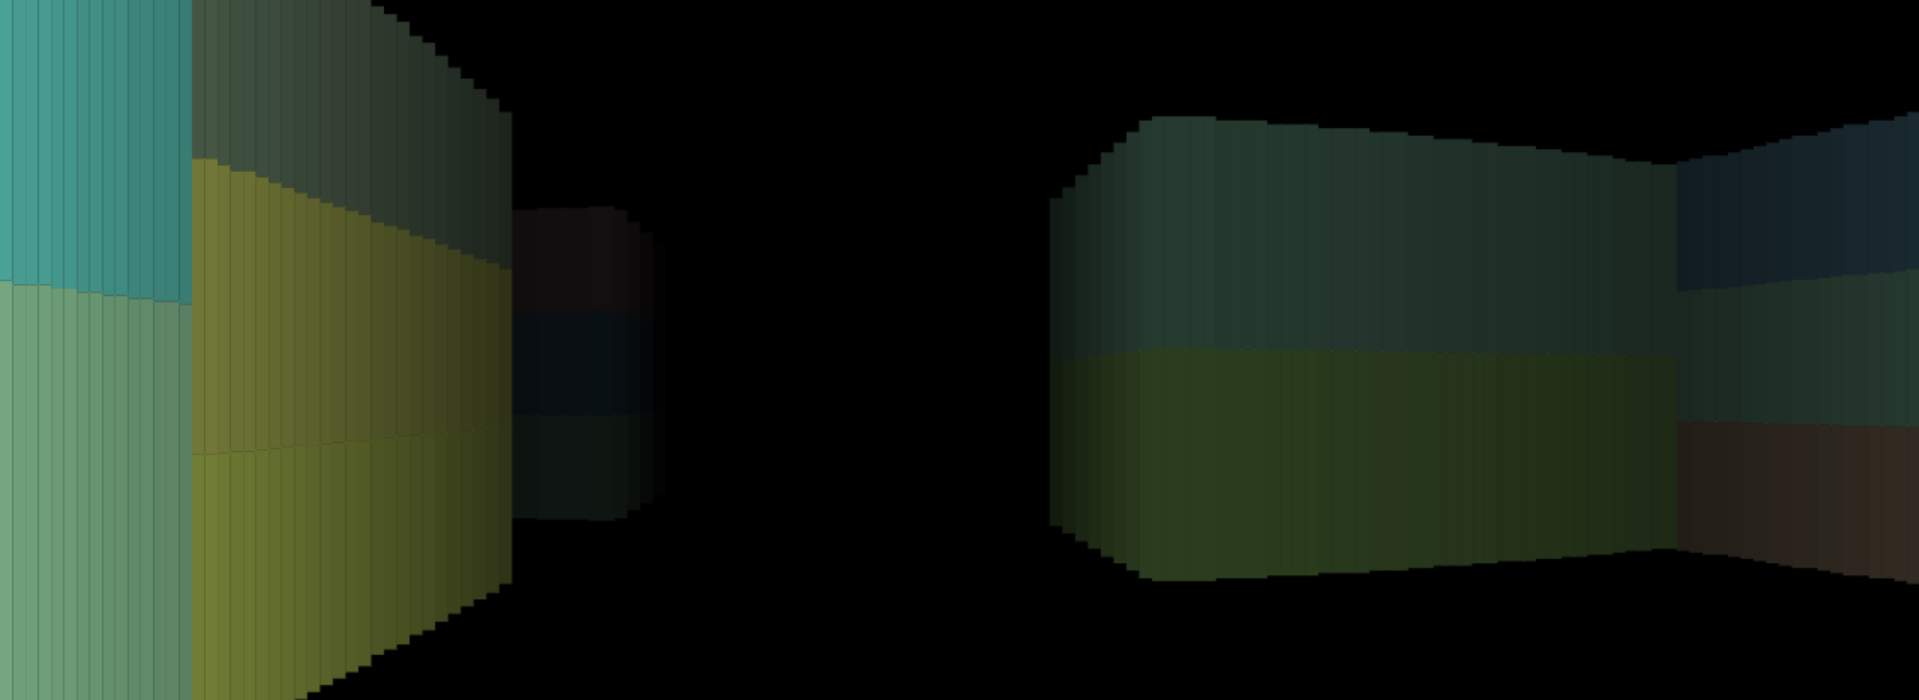
On your real screen, draw a rectangle for each ray you have. Its position is based on the ray you're dealing with. Its height is determined by the length of the ray. The rectangle's position matches the ray's position. Base the height on ray length - longer rays make shorter rectangles Since we've only been using just ten rays so far, the resulting screen doesn't look great. But after increasing the amount of rays to 100 we can achieve the result below.
Step 3 - Final Enhancements
Well, no matter what you think of it, you have already created a ray casted scene. That wasn't so hard was it?
Ray casting can actually be really useful for certain types of games. A taxi delivery game or a maze would work well, or even an FPS, if you like that kind of thing!
As a final note, I decided to really see how short I could get the ray casting example. Turns out, the entire code can sit quite happily at 273 characters. You can try getting it even smaller if you like!


<canvas id=c><body onload="u=_=>{W=c.width=innerWidth,H=c.height=innerHeight;for(r=i=99;i--;c.getContext`2d`.fillRect(i*W/r,H/2-h/2,h/40,h))for(j=0;++j<r;~Math.tan(~(_/r+Math.cos(A=i/r-.5,h=9/j*(W+H)/2)*.1*j)*~(-1.5+Math.sin(A)*.1*j))?0:j=r);requestAnimationFrame(u)},u()"></body>
Free and Open Source!
As a rule, all my projects are free and have their source code disclosed. Feel free to make your own versions of this project on GitHub! Licensed under CC-BY-SA-4.0.