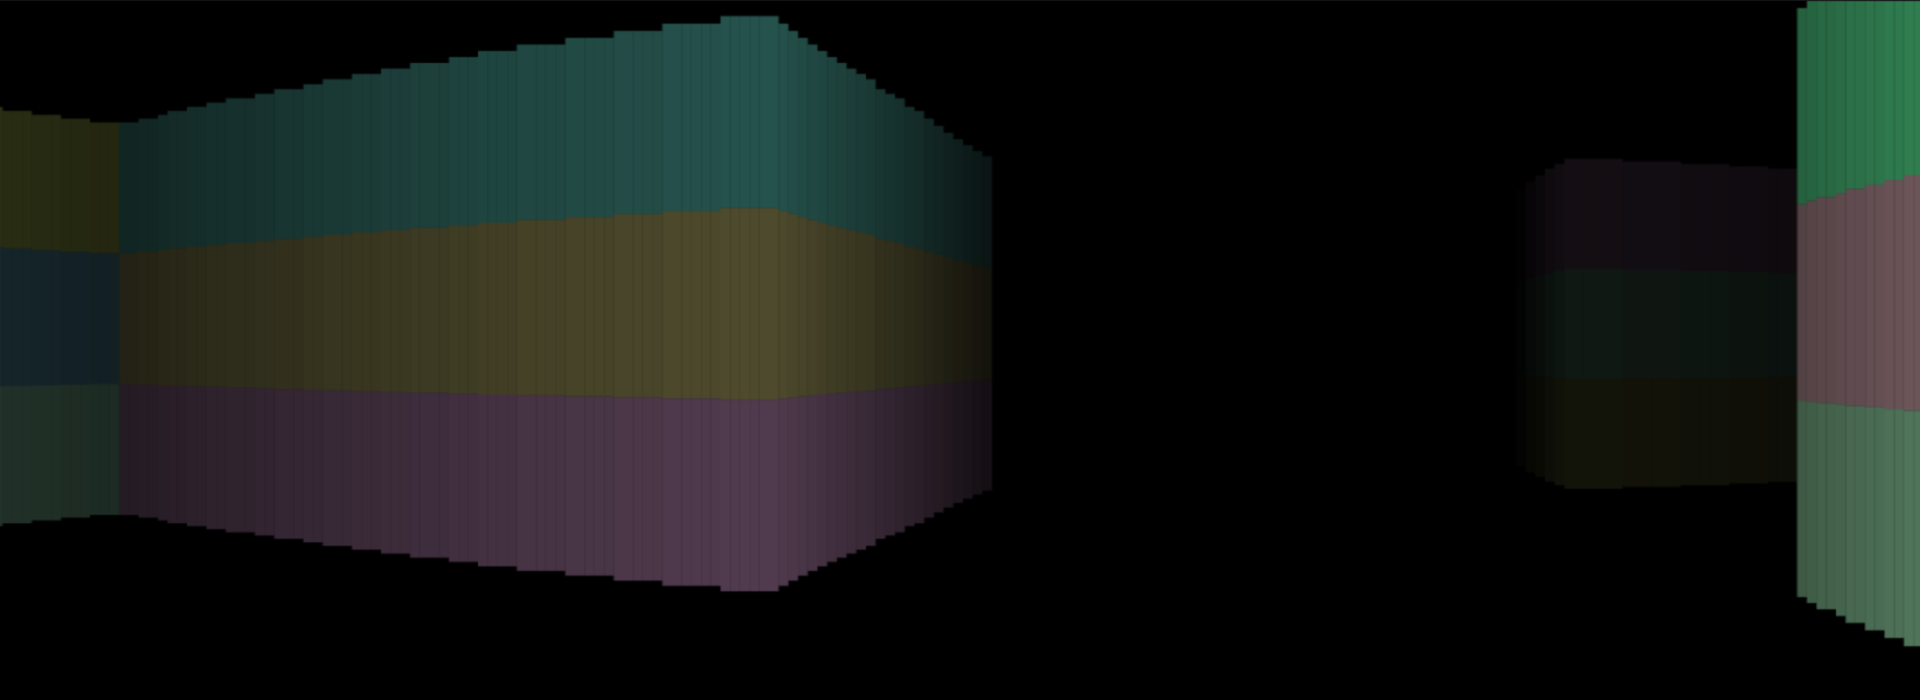
Ray Casting Blocks
A lively run through an infinite procedural city. Initially developed throughout March 2022, but later updated in late 2023.
I must say, although this experiment was very fun to make, ray casting is actually quite limited when it comes to flexability. That's why nowadays a lot of people have turned to methods like ray tracing, ray marching, and other things which have been able to extend the limitations of ray casting. It's still an awesome tool though, and I recommend it to anyone who's new to coding in three dimentions (like me.)
The concept of a ray-caster is really simple. Although it looks 3D, it really only uses 2D logic and then converts it to 3D at the end. Here is how it works in three easy steps.
~ STEP 1 ~
Create a bunch of rays (or "lines" if you prefer), but make sure each ray stops when it hits an obstacle, and that it has a maximum length
~ STEP 2 ~
On your real screen, draw a rectangle for each ray you have. Its position is based on the ray you're dealing with. Its height is determined by the length of the ray.
This is what it looks like. Not the most amazing graphics, I admit.
~ STEP 3 ~
Well, no matter what you think of it, you have already created a ray casted scene. That wasn't so hard was it?
Ray casting can actually be really useful for certain types of games. A taxi delivery game or a maze would work well, or even an FPS, if you like that kind of thing!
All we need now is more rays! I've also moved the camera (which is basically just the starting point of the rays) to help you get a better picture of what's happening.
This is the source code for the demo above. It's surprisingly short, actually.
<!DOCTYPE html>
    <head>
        <style>
            body {
                background: #000;
                margin: 0;
                overflow: hidden
            }
        </style>
    </head>
    <body>
        <canvas id = cvs>
        <script>
            'use strict'
            function resize() {
                cvs.width = innerWidth
                cvs.height = innerHeight

                scale = (cvs.width + cvs.height) / 30
            }

            function fillRect(x, y, w, h) {
                x = cvs.width / 2 + (x - cX) * scale
                y = cvs.height / 2 + (y - cY) * scale
                w = w * scale
                h = h * scale

                ctx.fillRect(x, y, w, h)
                ctx.strokeRect(x, y, w, h)
            }

            function get(x, y) {
                x = Math.floor(x)
                y = Math.floor(y)
                return -Math.sin((x * x + y * y) * y * x)
            }
            function rgb(r, g, b, a = 1) {
                return 'rgb('+r*255+','+g*255+','+b*255+','+a+')'
            }

            function update() {
                ctx.fillStyle = '#000'
                ctx.fillRect(0, 0, cvs.width, cvs.height)

                time += .1
                cX += speed

                for (let i = 0; i < rayAmt; i ++) {
                    let length = 0
                    let hue = 0
                    let x = cX
                    let y = cY

                    const ang = i * fov / rayAmt + cA

                    for (let j = 0; j < rayItr; j ++) {
                        length = j * rayJmp

                        x += Math.cos(ang) * rayJmp
                        y += Math.sin(ang) * rayJmp

                        if (get(x, y) > 0) {
                            hue = get(x, y) * 100
                            break
                        }

                        if (j == rayItr - 1)
                            length = 0
                    }

                    const w = cvs.width / rayAmt
                    const h = 10 / length * scale
                    const s = length * 45

                    ctx.fillStyle = rgb(s, s, s, 1 / length - length / 30)
                    ctx.fillRect(i * w, cvs.height / 2 - h / 2, w, h)
                }

                requestAnimationFrame(update)
            }
            const ctx = cvs.getContext('2d')

            const rayJmp = .07
            const rayAmt = 150
            const rayItr = 100
            const fov = 1.5
            const gen = 5

            let scale = 0
            let time = 0
            let cX = 0
            let cY = .5
            let cA = 5.4

            const walk = 1.5
            const speed = .07

            addEventListener('resize', resize)
            resize()

            update()
        </script>
    </body>
</html>
"It's surprisingly short, actually"
After writing that last sentence, I decided to really see how short I could get the above example. Turns out, the entire code can sit quite happily at 273 characters. You can try getting it even smaller if you like!
<canvas id=c><body onload="u=_=>{W=c.width=innerWidth,H=c.height=innerHeight;for(r=i=99;i--;c.getContext`2d`.fillRect(i*W/r,H/2-h/2,h/40,h))for(j=0;++j<r;~Math.tan(~(_/r+Math.cos(A=i/r-.5,h=9/j*(W+H)/2)*.1*j)*~(-1.5+Math.sin(A)*.1*j))?0:j=r);requestAnimationFrame(u)},u()"></body>
Hopefully this page was slightly helpful, and maybe I'll make something big using ray casting in the future. It's pretty hard to overcome the initial limitations, but if you can do it it's a great trick to have up your sleeve!
