3 Tips for Game Development
Generally speaking, code looks confusing. After all, why wouldn't it? It's not called "code" for nothing. You know, Morse code, Enigma code, and... coding code! It's not meant to be easy to understand!
This article discusses how my coding journey began. Through it, I realised that code isn't as complicated as it appears to be at first. However, even if you're "fluent" at a coding language, it doesn't nessecarily mean you know what it says at first glance. Programming code, like a normal code, needs to be broken down into smaller pieces.
Without further ado, let's get stuck in to the biography of how I learned to make games. But first, let's go back to where it all started.
Step 1. Free Up Your Imagination
It all began with a library book called "Computer Coding: Python Games For Kids," which used Pygame Zero. My brother and I went through the entire book together and, even though the games themselves were simple, I was very interested by the "side" pictures - the images of potential games that never have and never will exist.
As you can imagine, seeing exciting pictures of a game that doesn't exist caused some frustration. However, I think - but I may be wrong, mind you - that these illustrations actually gave me more motivation to make my own games. It was the drive to make these images a reality.
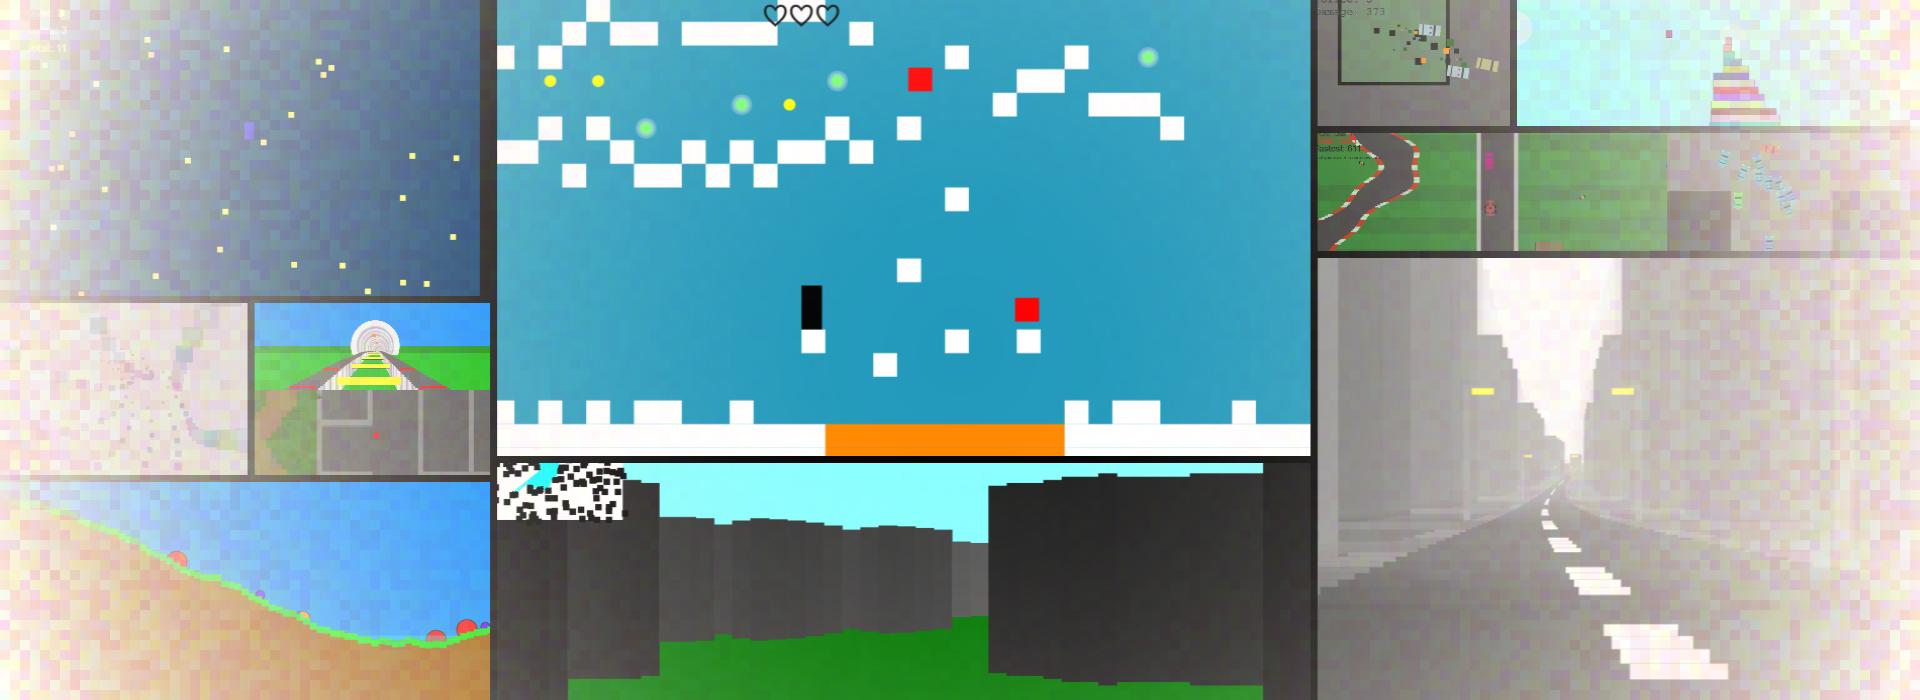
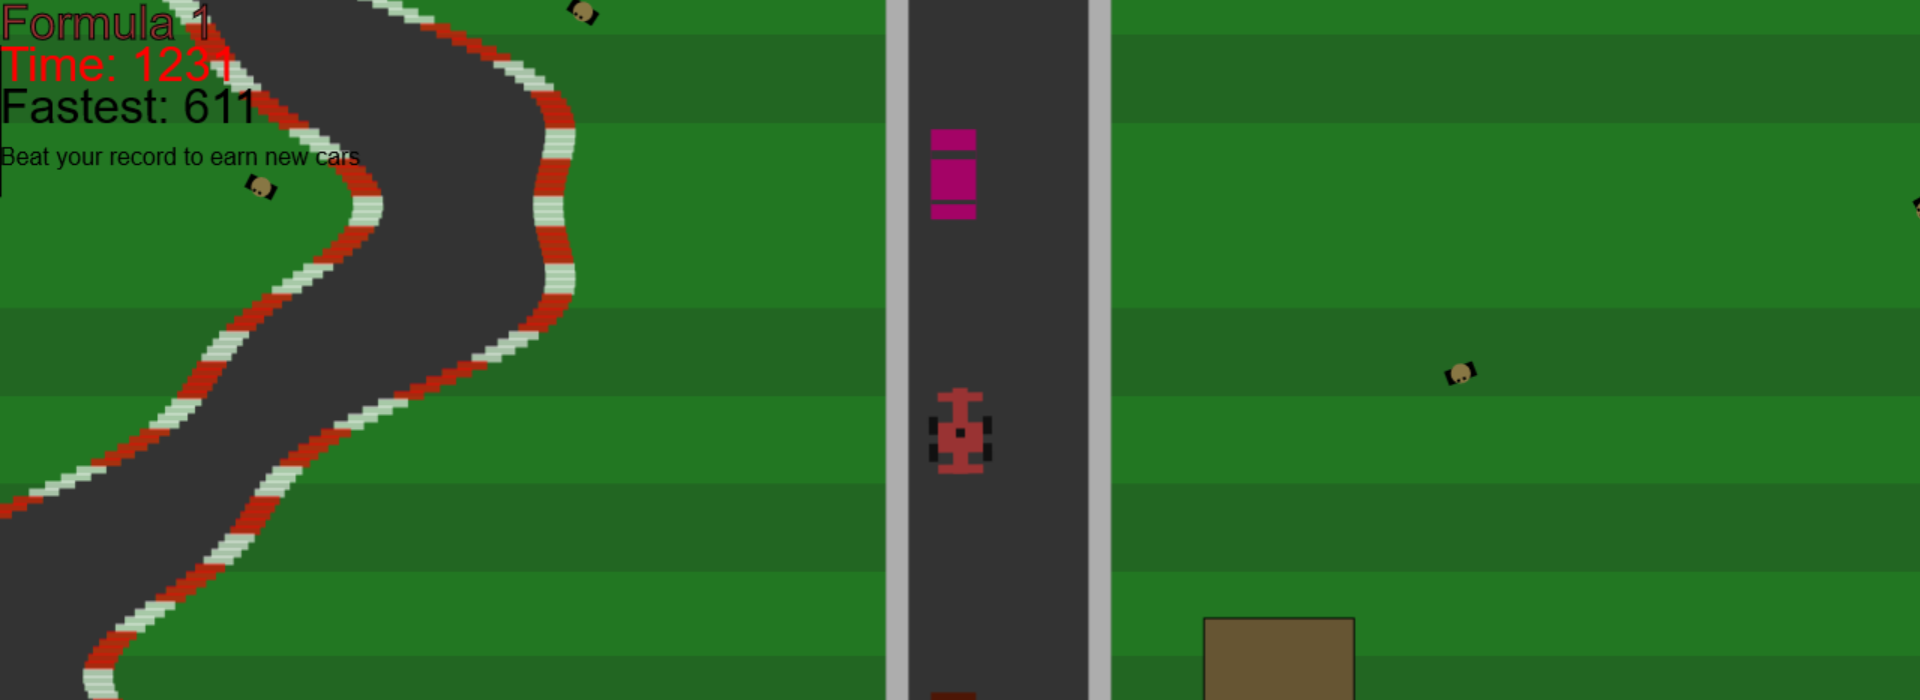
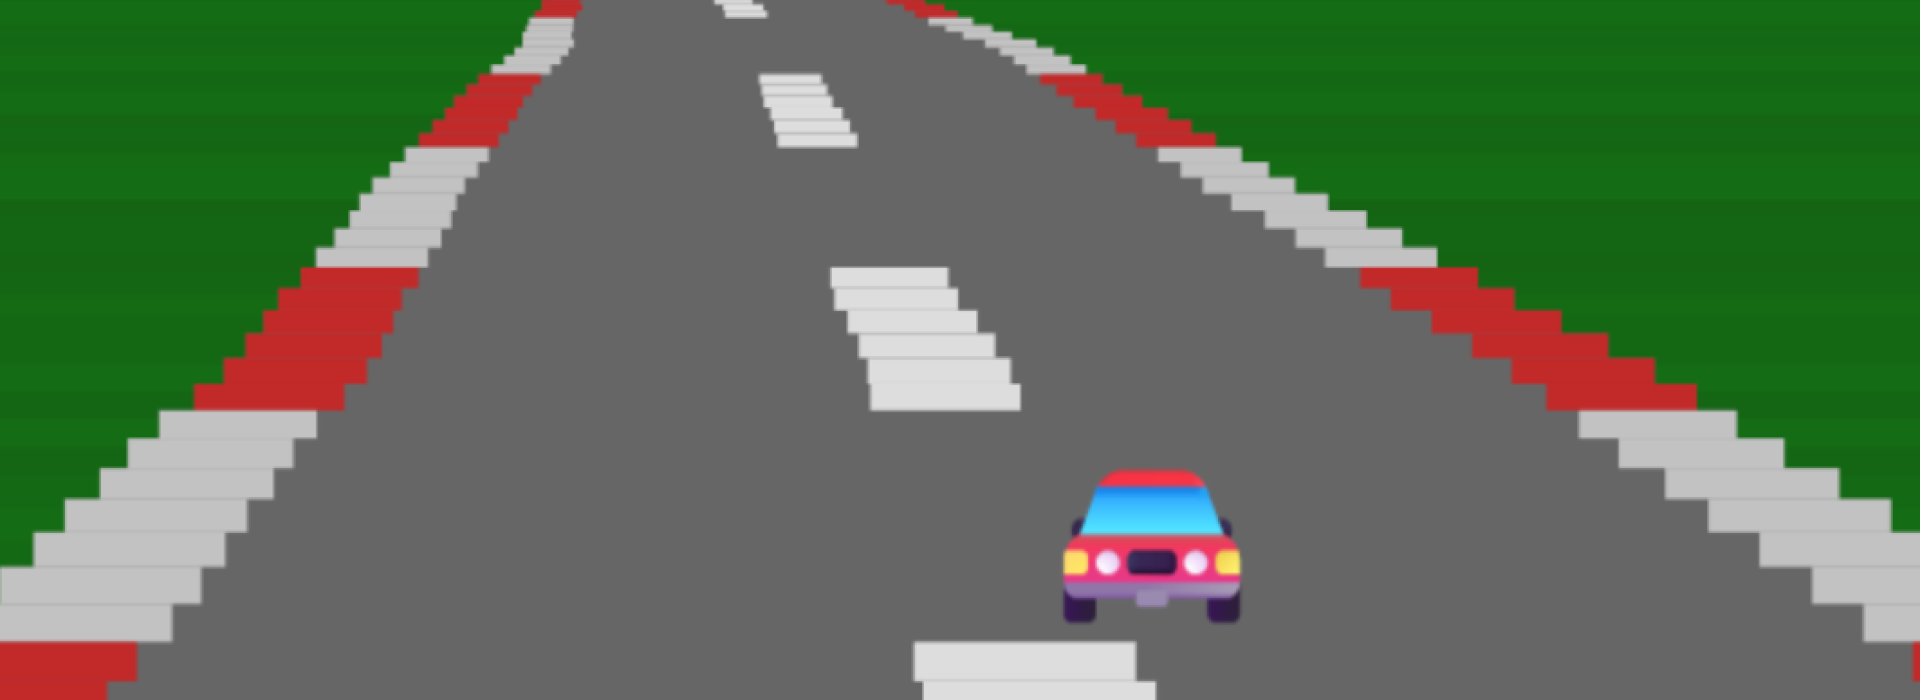
I vaguely remember a picture that particularly inspired me. It looked a little like this.
I don't know why, the picture was so simple, but it really made an impact on me. It made me think about all these really cool games... but games that only existed in my own imagination.
One of the most important stages in game development is just letting your imagination run free. Trust me, getting excited about your game will make a big difference to the final product. If you need inspiration, a library book is a good place to start. Once you have an idea, try to grow it in your mind or write it down on a piece of paper.
Step 2. Start Small
Like learning a language, learning to code takes a lot of time and effort. Slowly you get a better understanding of how and why code is a certain way, and things get easier. You should not expect your first games to be very good. "Don't run before you can walk," they say, and it's very true.
After messing around a bit with Pygame Zero, we decided to upgrade to Pygame, as apparently it could handle more without slowing the computer down.

When I was younger, I aspired to become like the "top game developers" - people who (I imagined) coded their games in pure binary. Sadly, I quickly learned that literally no one makes games in binary. In case you have thought along similar lines, let me take a minute to explain how binary and code actually work.
All of us speak a language of some kind. Languages allow us to communicate. Some people who are particularly interested in language may decide to learn "lower level" languages like, say, Latin. Coding is very similar. Some people are content to use easier languages like Python or JavaScript, while others enjoy learning things like C, Rust, or even Assembly. The bottom line is - no matter what language you choose to code in - coding in binary is like trying to talk to each other via Morse code. Of course it's possible, but what's the point?
Being an extremely new coder at the time, (and to think I'm a new coder even now) I quickly realised something very important. When my game idea was too big for my current skill level, it never got very far through development. Instead, I found it was much easier to get better at coding when I made smaller projects.
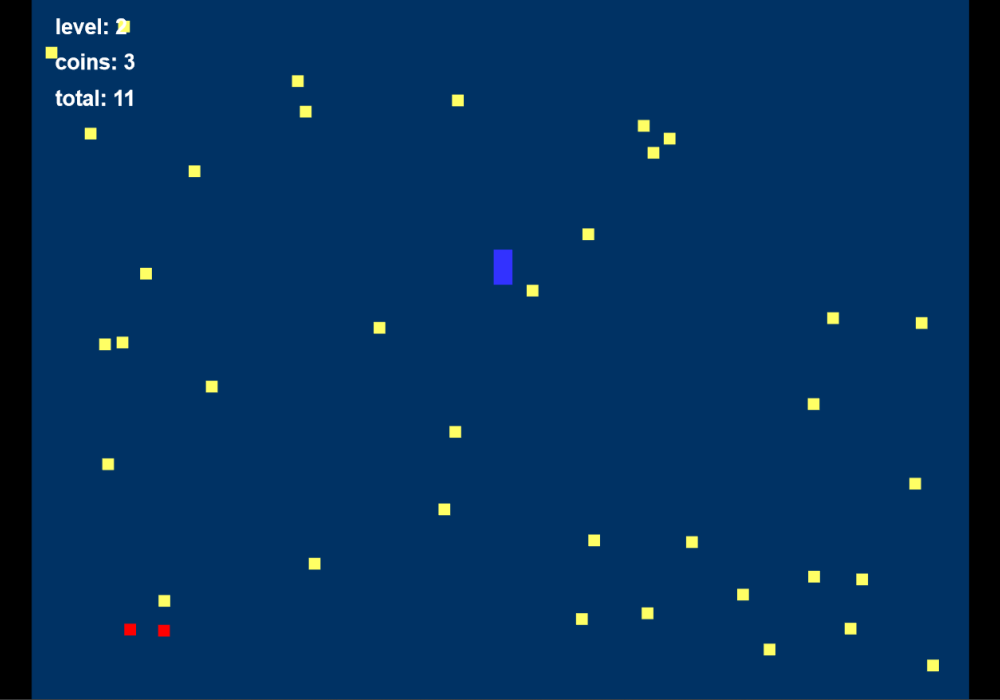
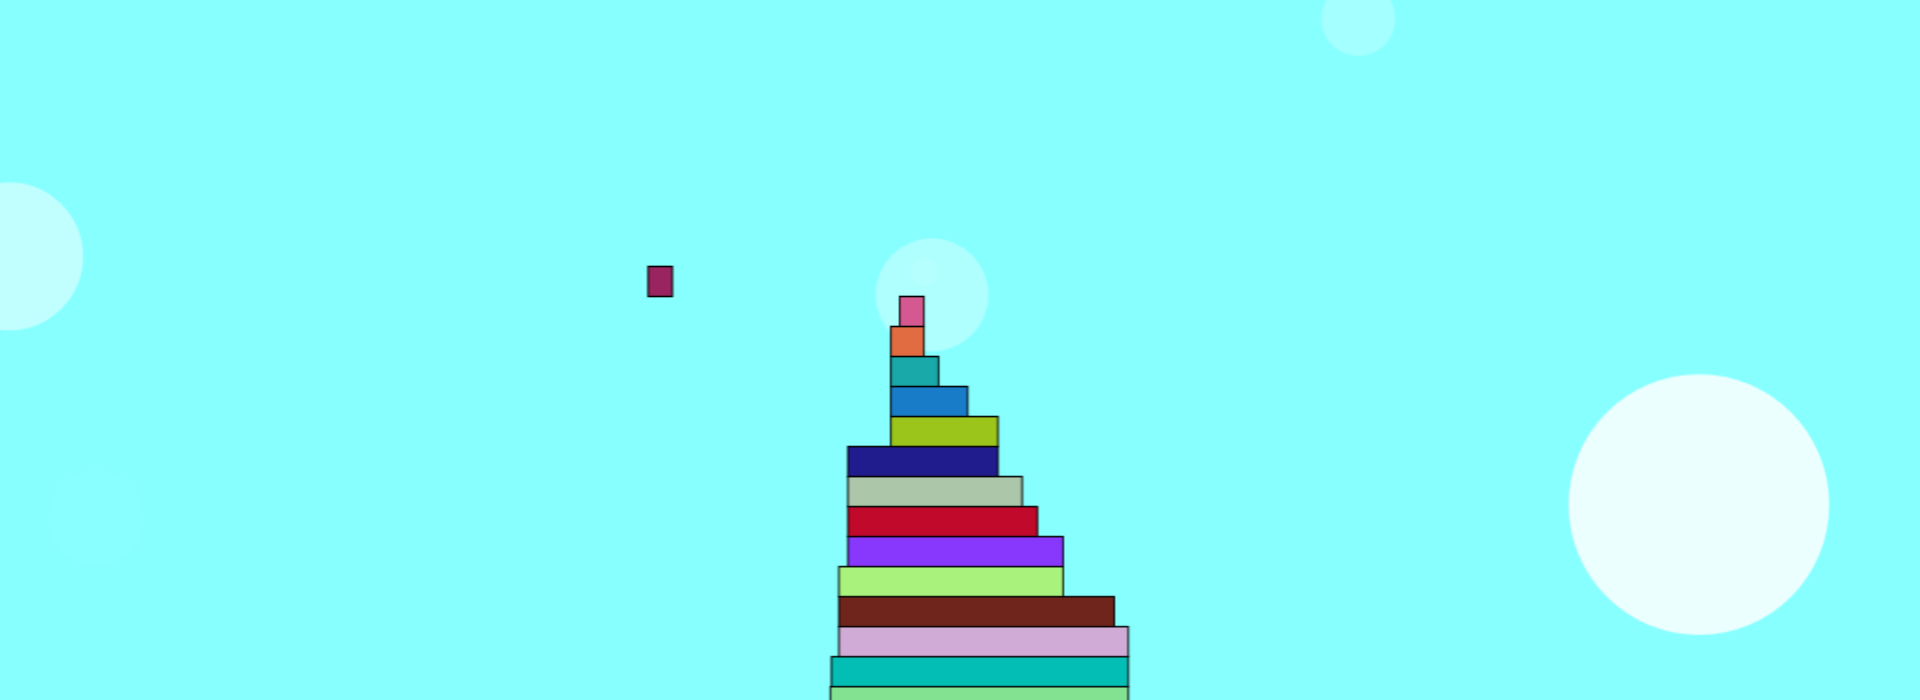
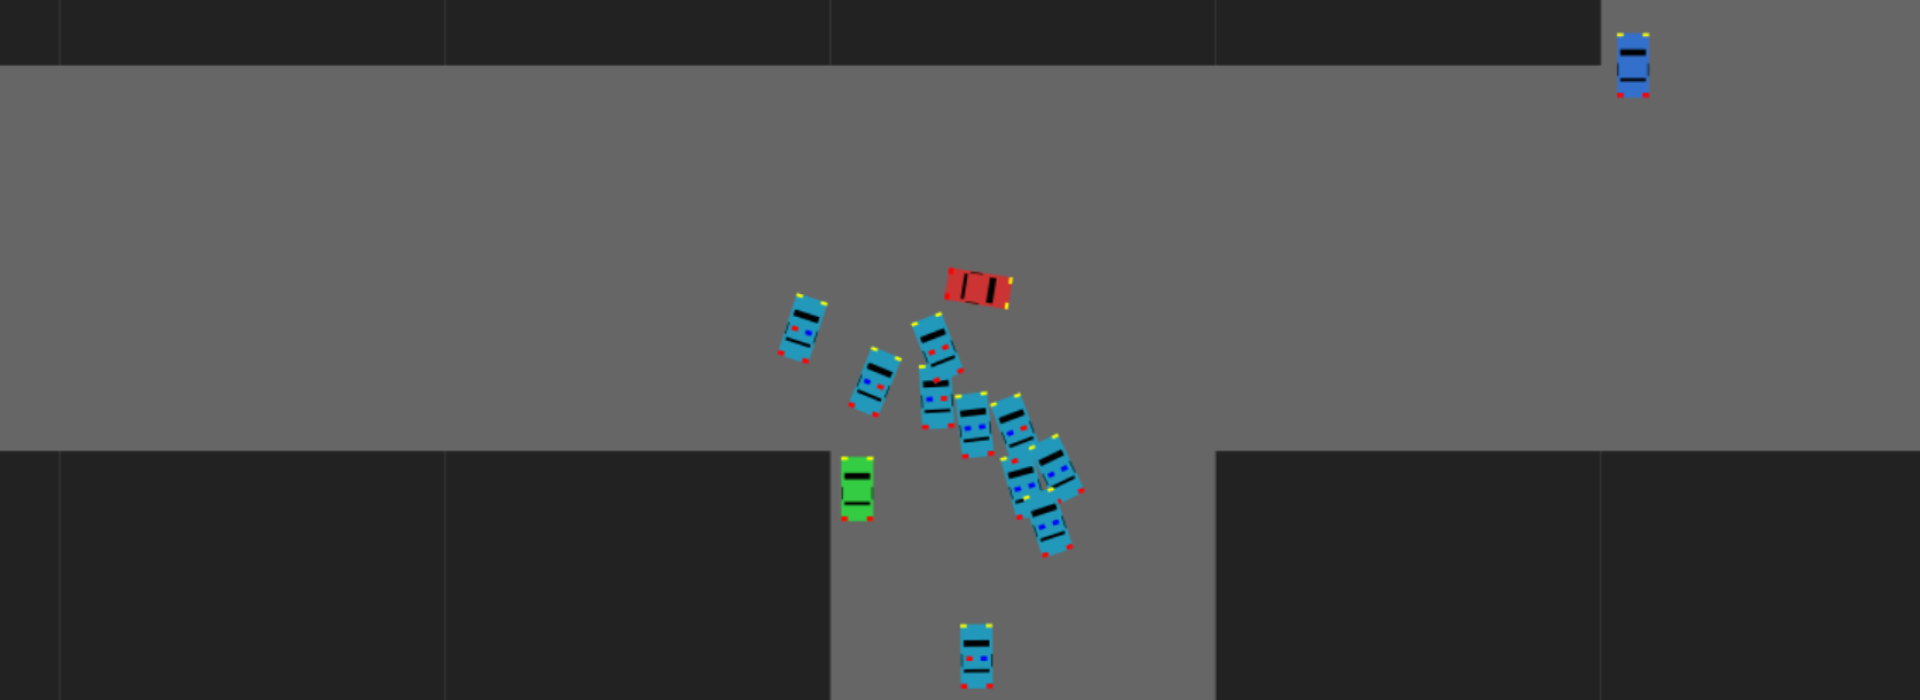
The first "game" my brother and I made was a blue rectangle falling from the sky. I've completely re-written the final version in JavaScript code so you can play it online.
Coin Game
Move the falling rectangle by pressing the left or right arrow keys (A or D). For mobile devices you can just on tap either side of the window. Try to collect all the coins but be careful to avoid the baddies. Press any key to go to the next level.

After celebrating our first game, my brother and I parted ways. I took up the hobby of game development, while he - who has a brain more like a computer than I do - went off to make JoBase, and other Complicated Things like that. (But seriously, who wants complicated when you can have games?)
After creating a few more demos in Pygame - which I don't think I'll show you, as they're all quite basic - I suddenly had the desire to learn JavaScript. I think the main reason for this was because JavaScript runs online. And making games is no fun when only you can play them afterwards, right?
The first JavaScript game I attempted to make was a full-length platformer with realistic plant simulations, various dynamic forms of weather, and a complete physics engine created entirely from scratch. (I confess, I still haven't lost that abhorrence to using JavaScript libraries.) As usual, I gave up quite quickly.
"Well," you say, "what stopped you from continuing?" Good question! The whole idea of coding is fixing glitches. Trouble is, us newbies tend to unintentionally make more glitches than the experienced coders do. However, as I think I've mentioned before, glitches can generally be kept at bay by keeping our projects small to begin with.
Step 3. Keep Going
As you start creating larger games, you will at some point face the Boring Part. There is at least one in the development of every game. Remember, this doesn't mean there's a boring part to every actual game, but coding is different.
Some independent developers like to save all the boring parts till last. Others like to get it over and done with at the start. Personally, I like to alternate Boring with Interesting because it helps me stay awake.
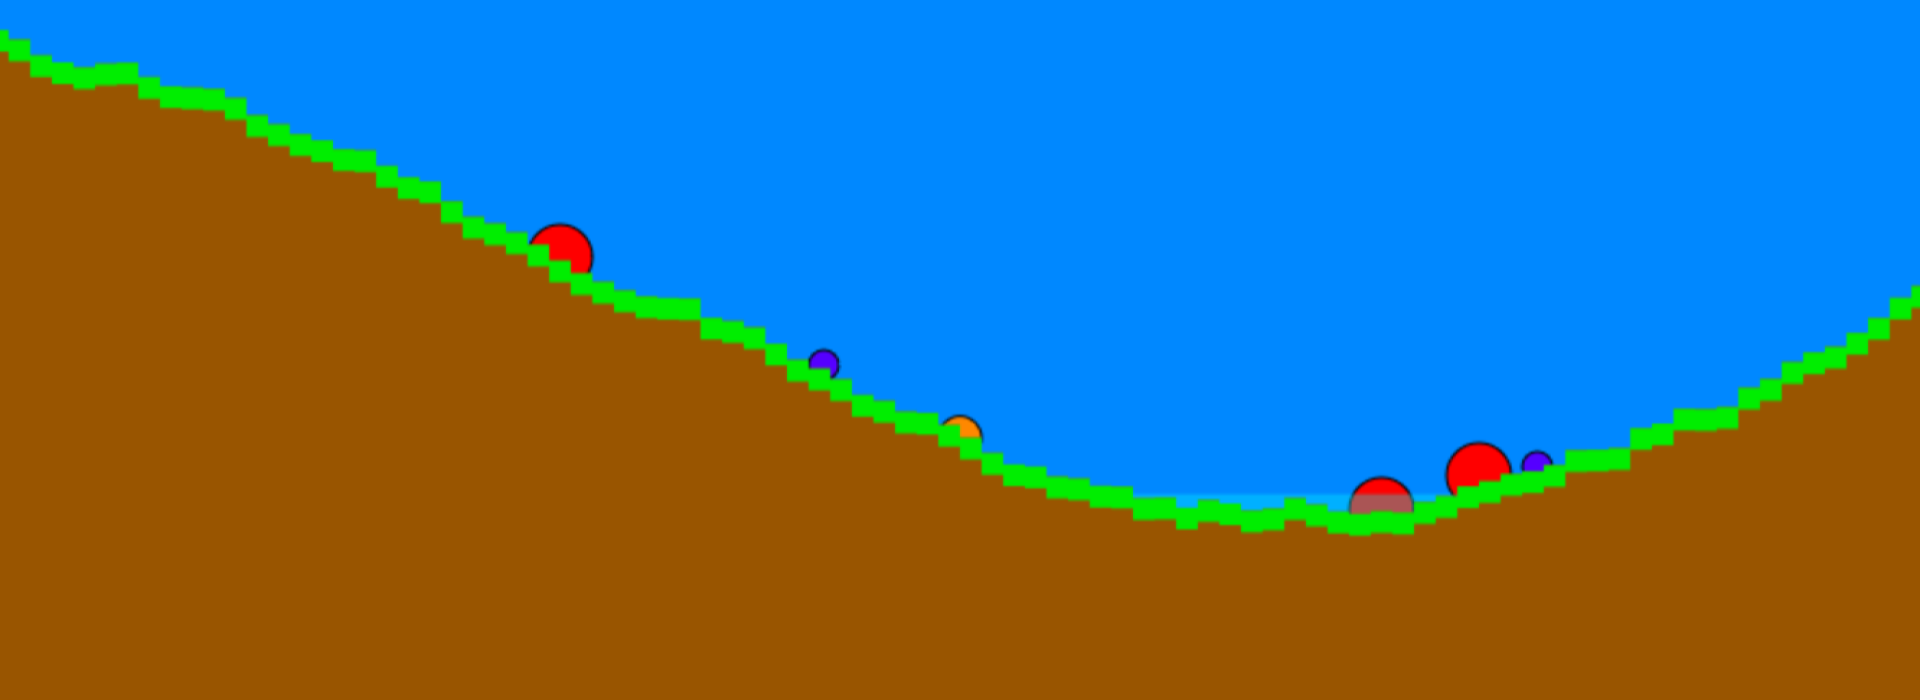
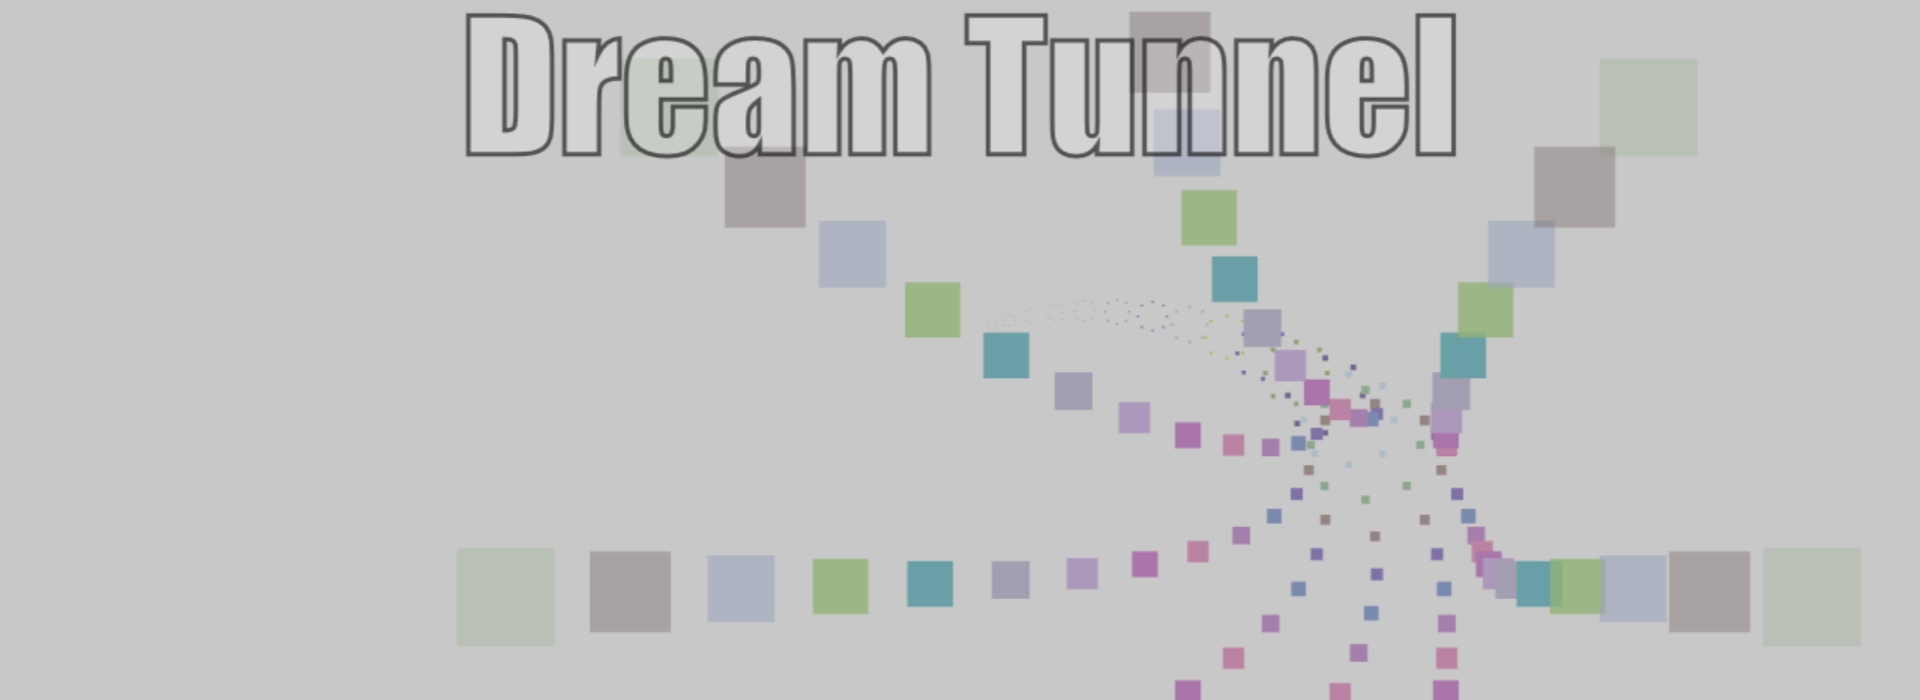
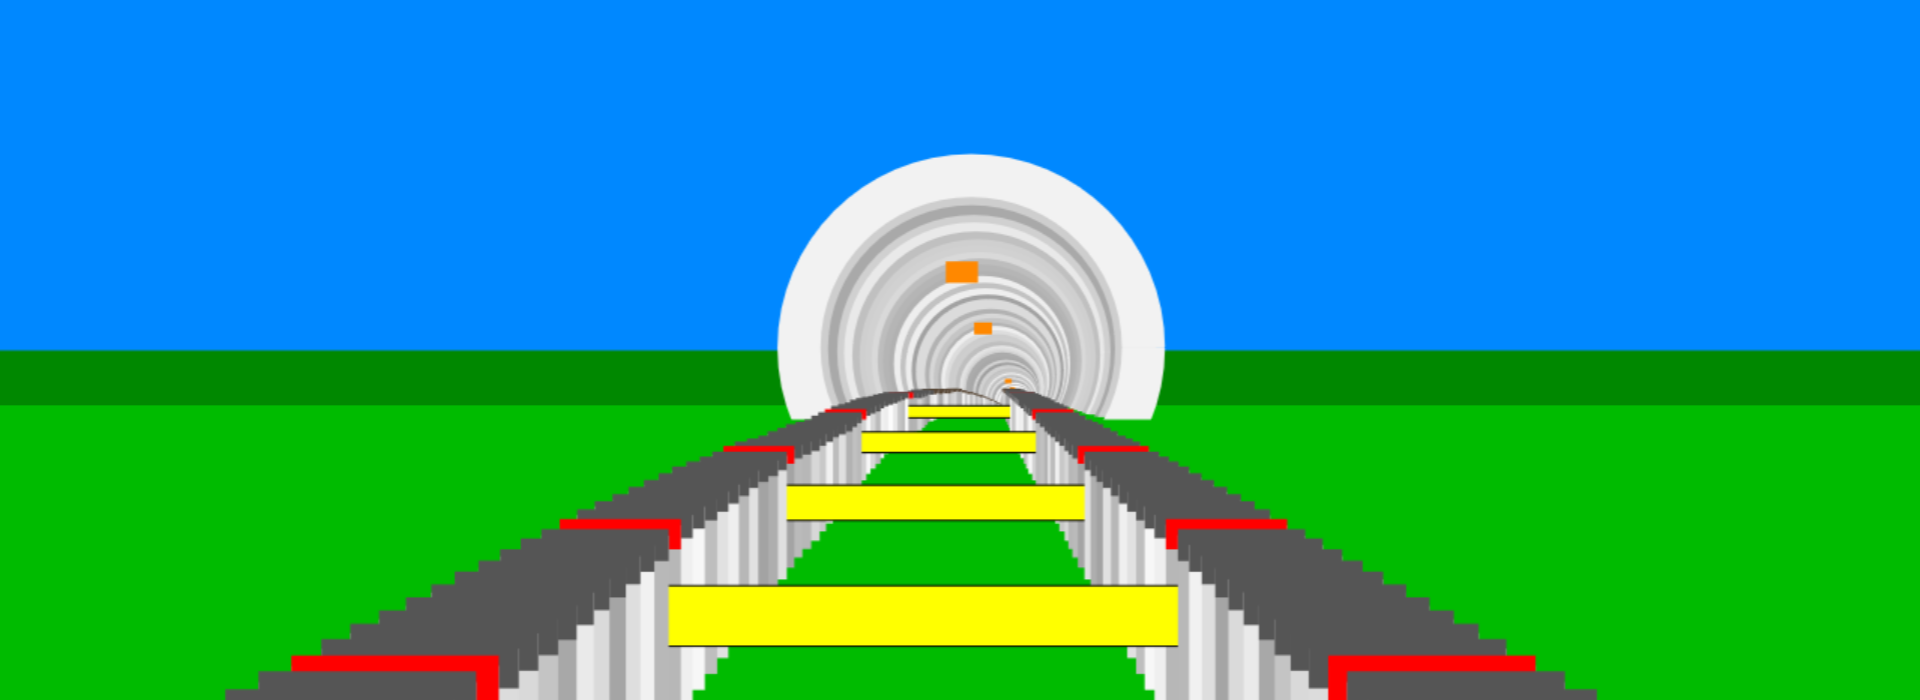
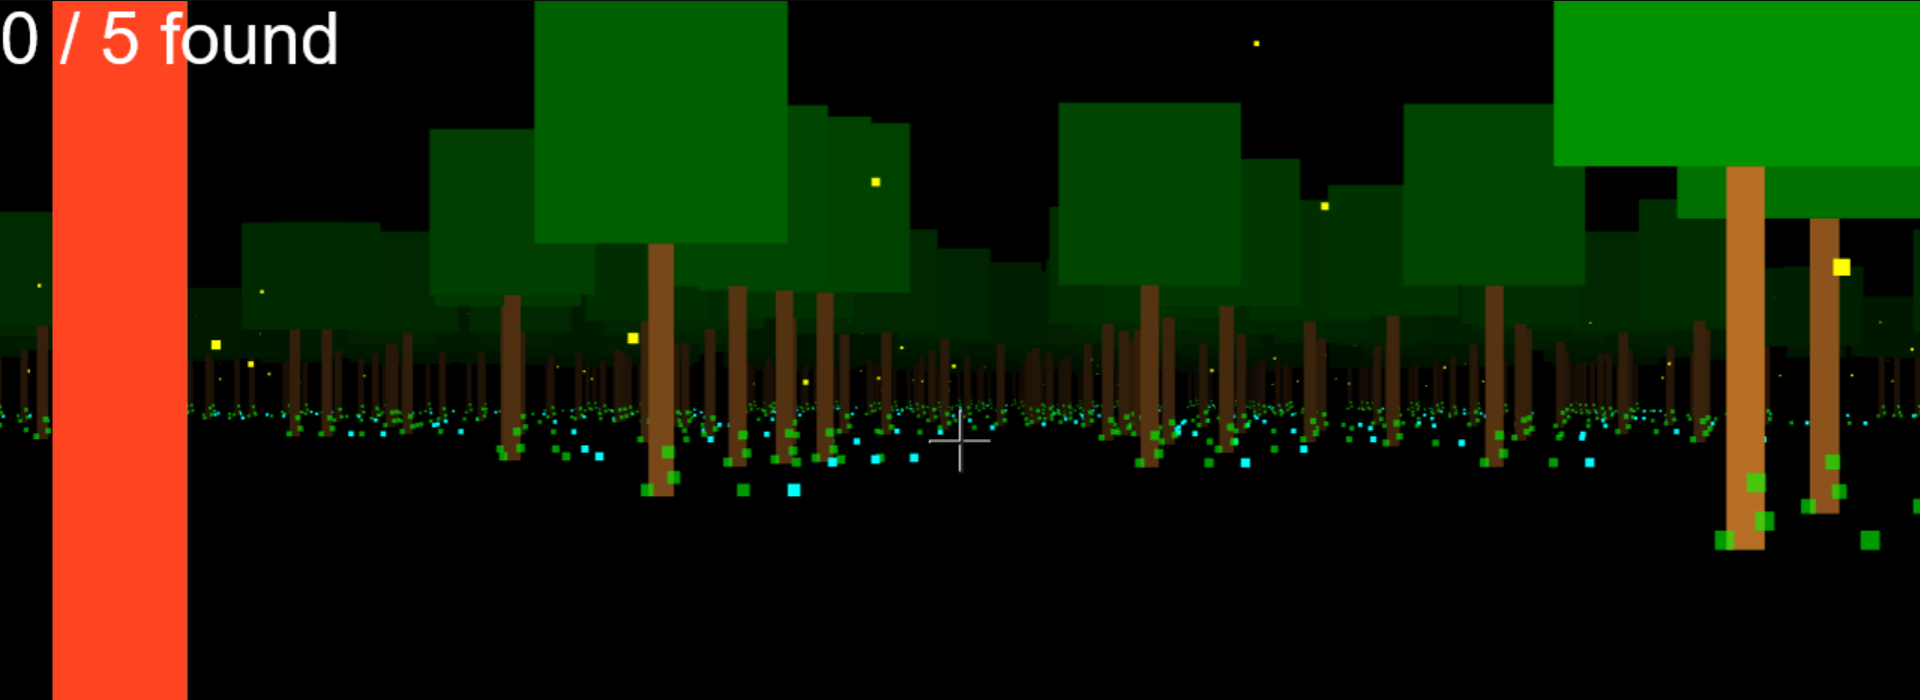
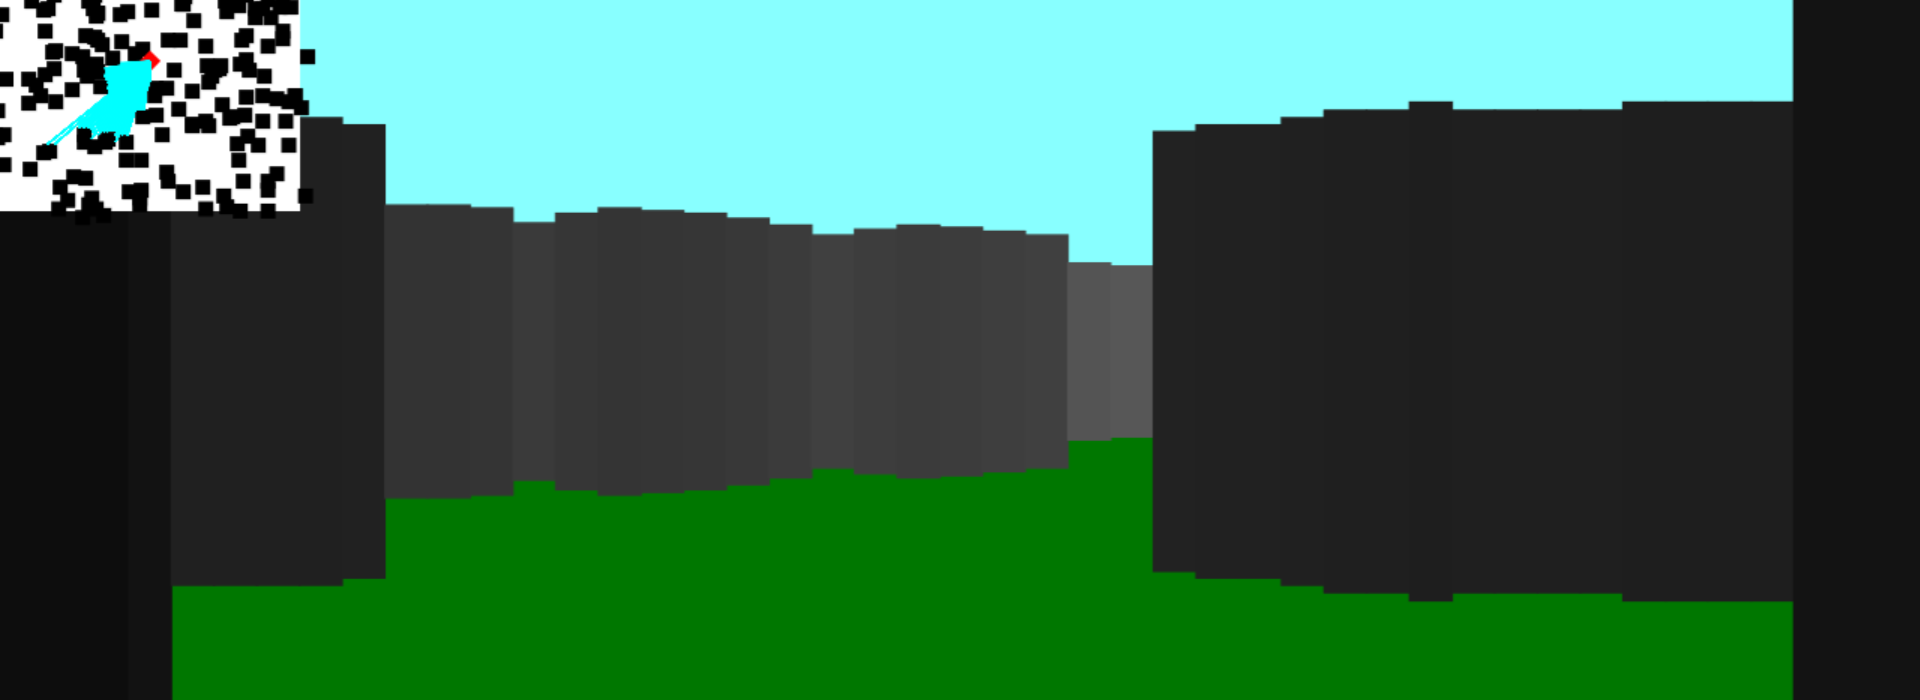
After giving up on my platformer idea, I decided to cut things right back and just get familiar with how JavaScript works. This lead to the creation of about 24 "tunnel experiments," which simply consisted of putting lots of squares on the screen and moving them in different ways. I've displayed one of these demos for you below. Please excuse the dreadful code practices I used.
Demo #20
<body>
    <canvas id = canvas>
    <script>

        // SETUP

        document.body.style.margin          = 0
        document.body.style.overflow        = 'hidden'
        document.body.style.backgroundColor = "#000"
        document.fullscreenEnabled = true

        let context   = canvas.getContext("2d")
        canvas.width  = innerWidth
        canvas.height = innerHeight

        let particles = []
        let number    = 250
        let point = {x: canvas.width / 2, y: canvas.height / 2}

        for(let i = 0; i < number; i ++) {
            let x     = Math.floor(Math.random() * canvas.width)
            let y     = Math.floor(Math.random() * canvas.height)
            let size  = 10
            let touch = Math.floor(Math.random() * 20) + 50 // distance from particle to screen (gives it depth)

            particles.push({x, y, size, touch})
        }

        function loop() {
            canvas.width = canvas.width // clear screen

            for (particle of particles) {

                // FIND DISTANCE FROM CENTRE TO PARTICLES
                let distx = particle.x - point.x // find distance between points on the x
                let disty = particle.y - point.y
                let distance = Math.sqrt(distx ** 2 + disty ** 2) // find the square root
                particle.size = distance / 20

                particle.x += distx / particle.touch
                particle.y += disty / particle.touch

                context.fillStyle = '#f80'
                context.fillRect(particle.x, particle.y, particle.size, particle.size)

                if (particle.x > canvas.width || particle.x + particle.size < 0 ||
                    particle.y + particle.size < 0 || particle.y > canvas.height) {
                    particle.x -= distx
                    particle.y -= disty
                    particle.touch = Math.floor(Math.random() * 20) + 50
                }
            }


            requestAnimationFrame(loop)
        }

        requestAnimationFrame(loop)

    </script>
</body>
Everything got a bit easier after this stage. And as I went on to create more "games" - none of them any good of course - I was slowly getting a better understanding of how code works.
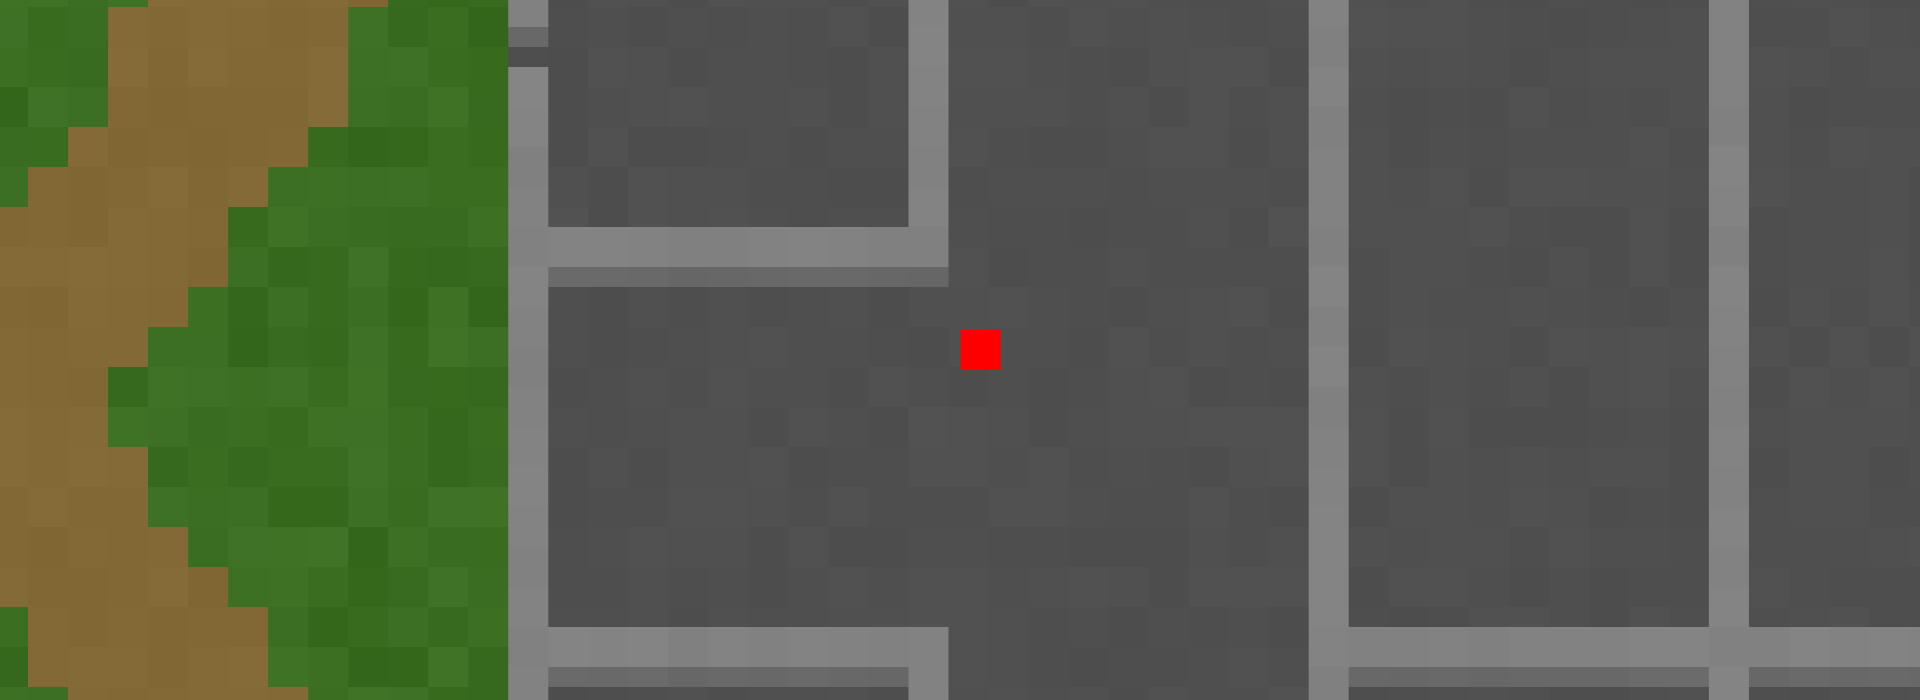

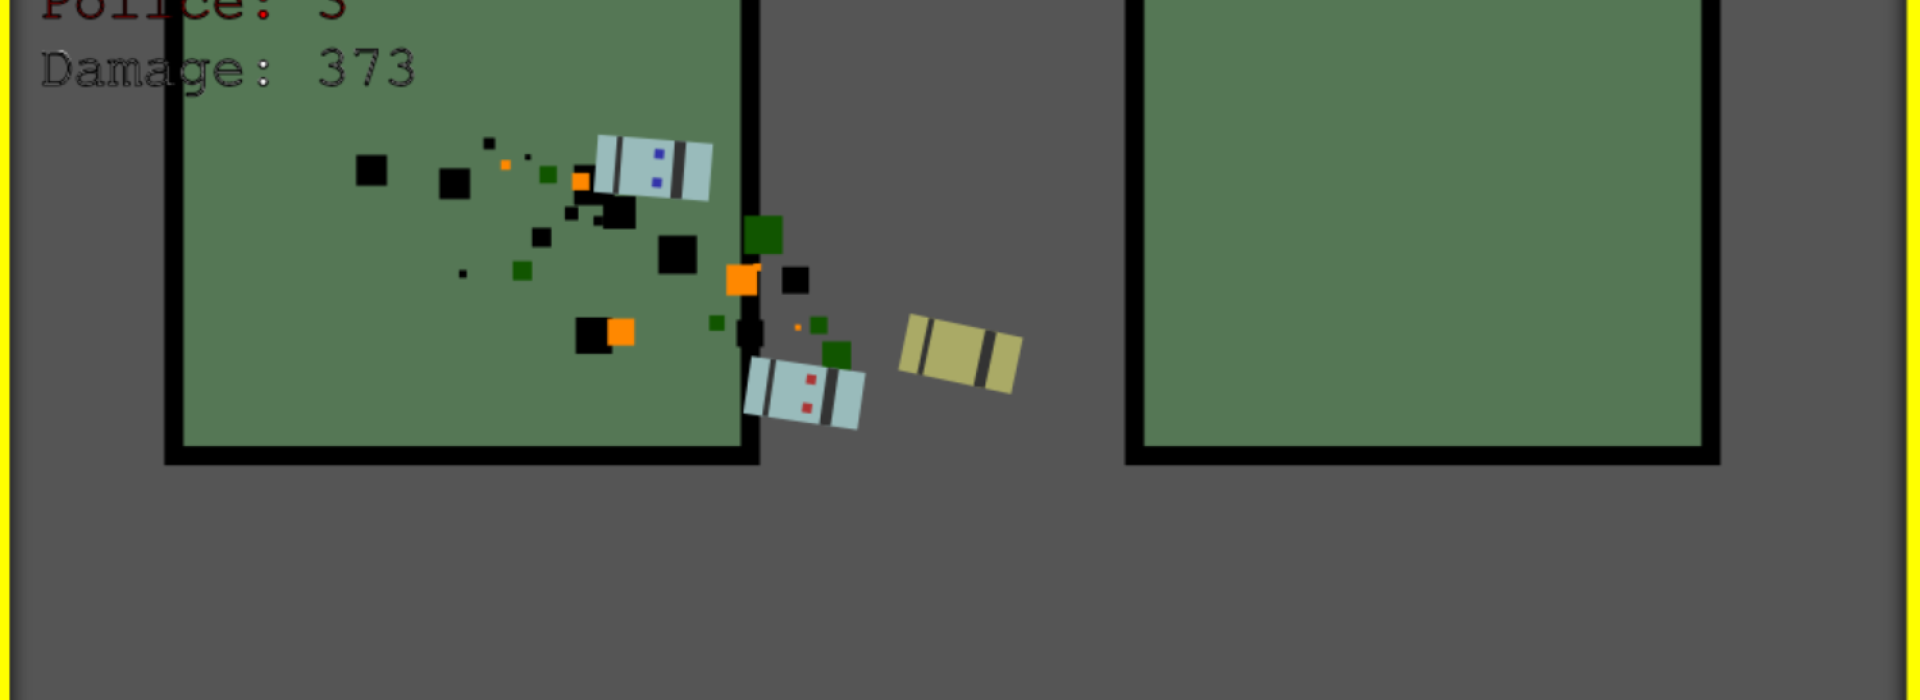
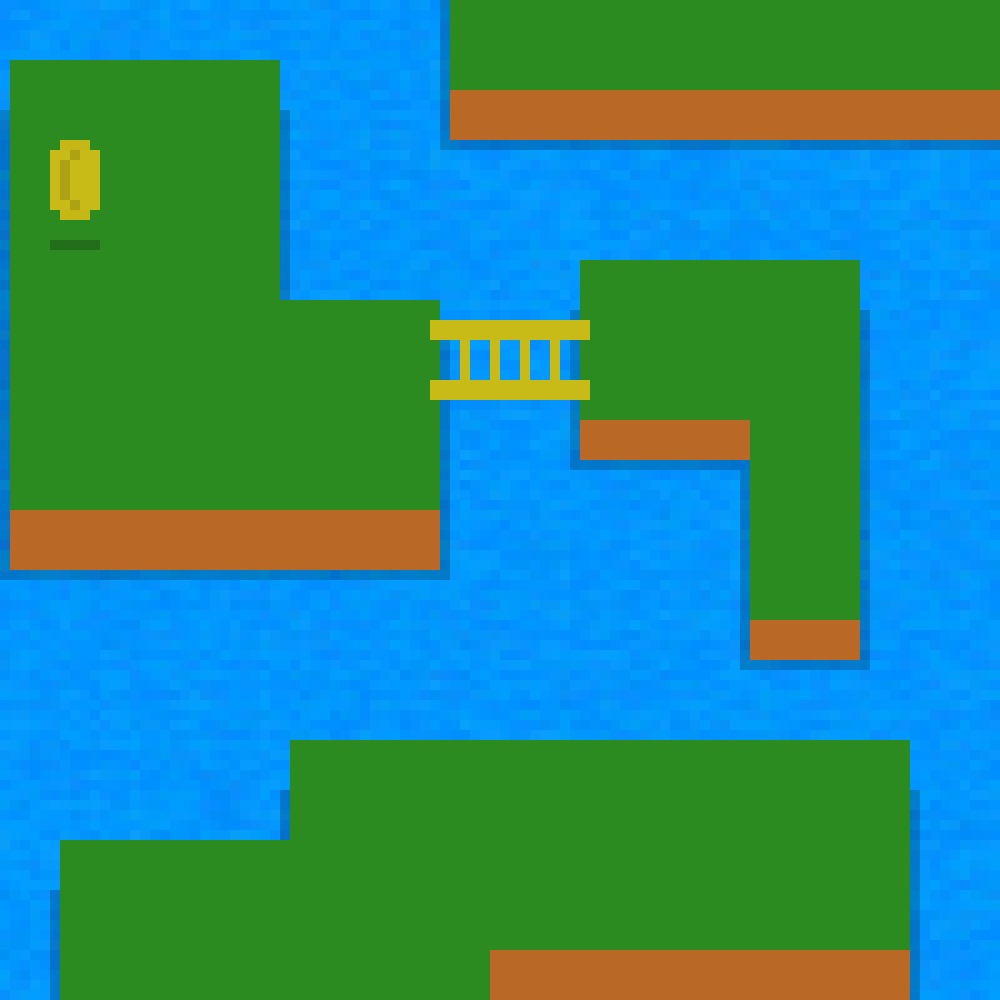
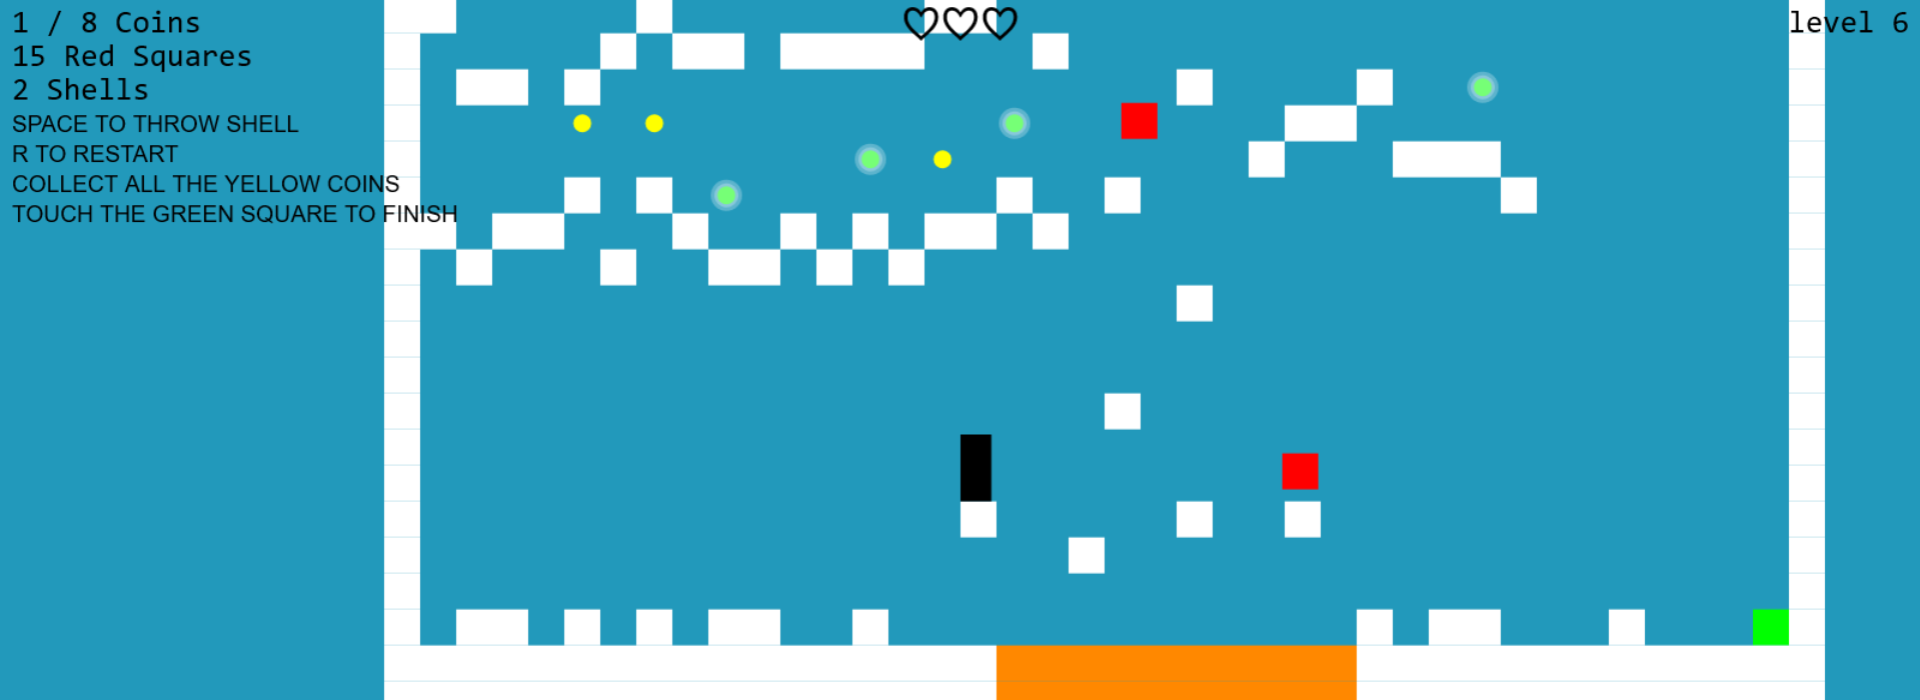
The best project I made during this period was definitely the simplified platform game. It was created just before The Mitigator, and was a real milestone for me. All the levels are "Procedurally Generated," which simply means that they're created using randomisation, so they're different every time.
First Platformer
Use the arrows or WASD to jump on the platforms and collect the coins. Press R to restart each level. Space to throw shells. Avoid the red squares! You cannot play this game on a mobile device.
Conclusion
Free Up your Imagination. You can't make games if you have no ideas, so really think about the games you love already, or pictures that inspire you, and try to build from there.
Start Small. Don't take on big projects too early. Even the most experienced coders can get out of their depth, so try to tailor your projects to fit your current skill level.
Keep Going. Every game has a boring part to its development. Don't give up! Try to think of the end result and keep things varied.
That's pretty much everything! All the games from this point have been published on the Games tab of this website. I hope this article gave you a bit of insight into my journey through game development. If you're new to coding and are interested in using pure JavaScript to make your own games, please get in touch I'll try to help you as best I can.
The legacy continues!
All comments are reviewed before being posted. No contact details or other personal information will be shared.
If there's anything else you don't want published, please say so in the comment.
Thanks for your feedback!

